How Do You Wash Hockey Equipment? Complete Cleaning & Care Guide
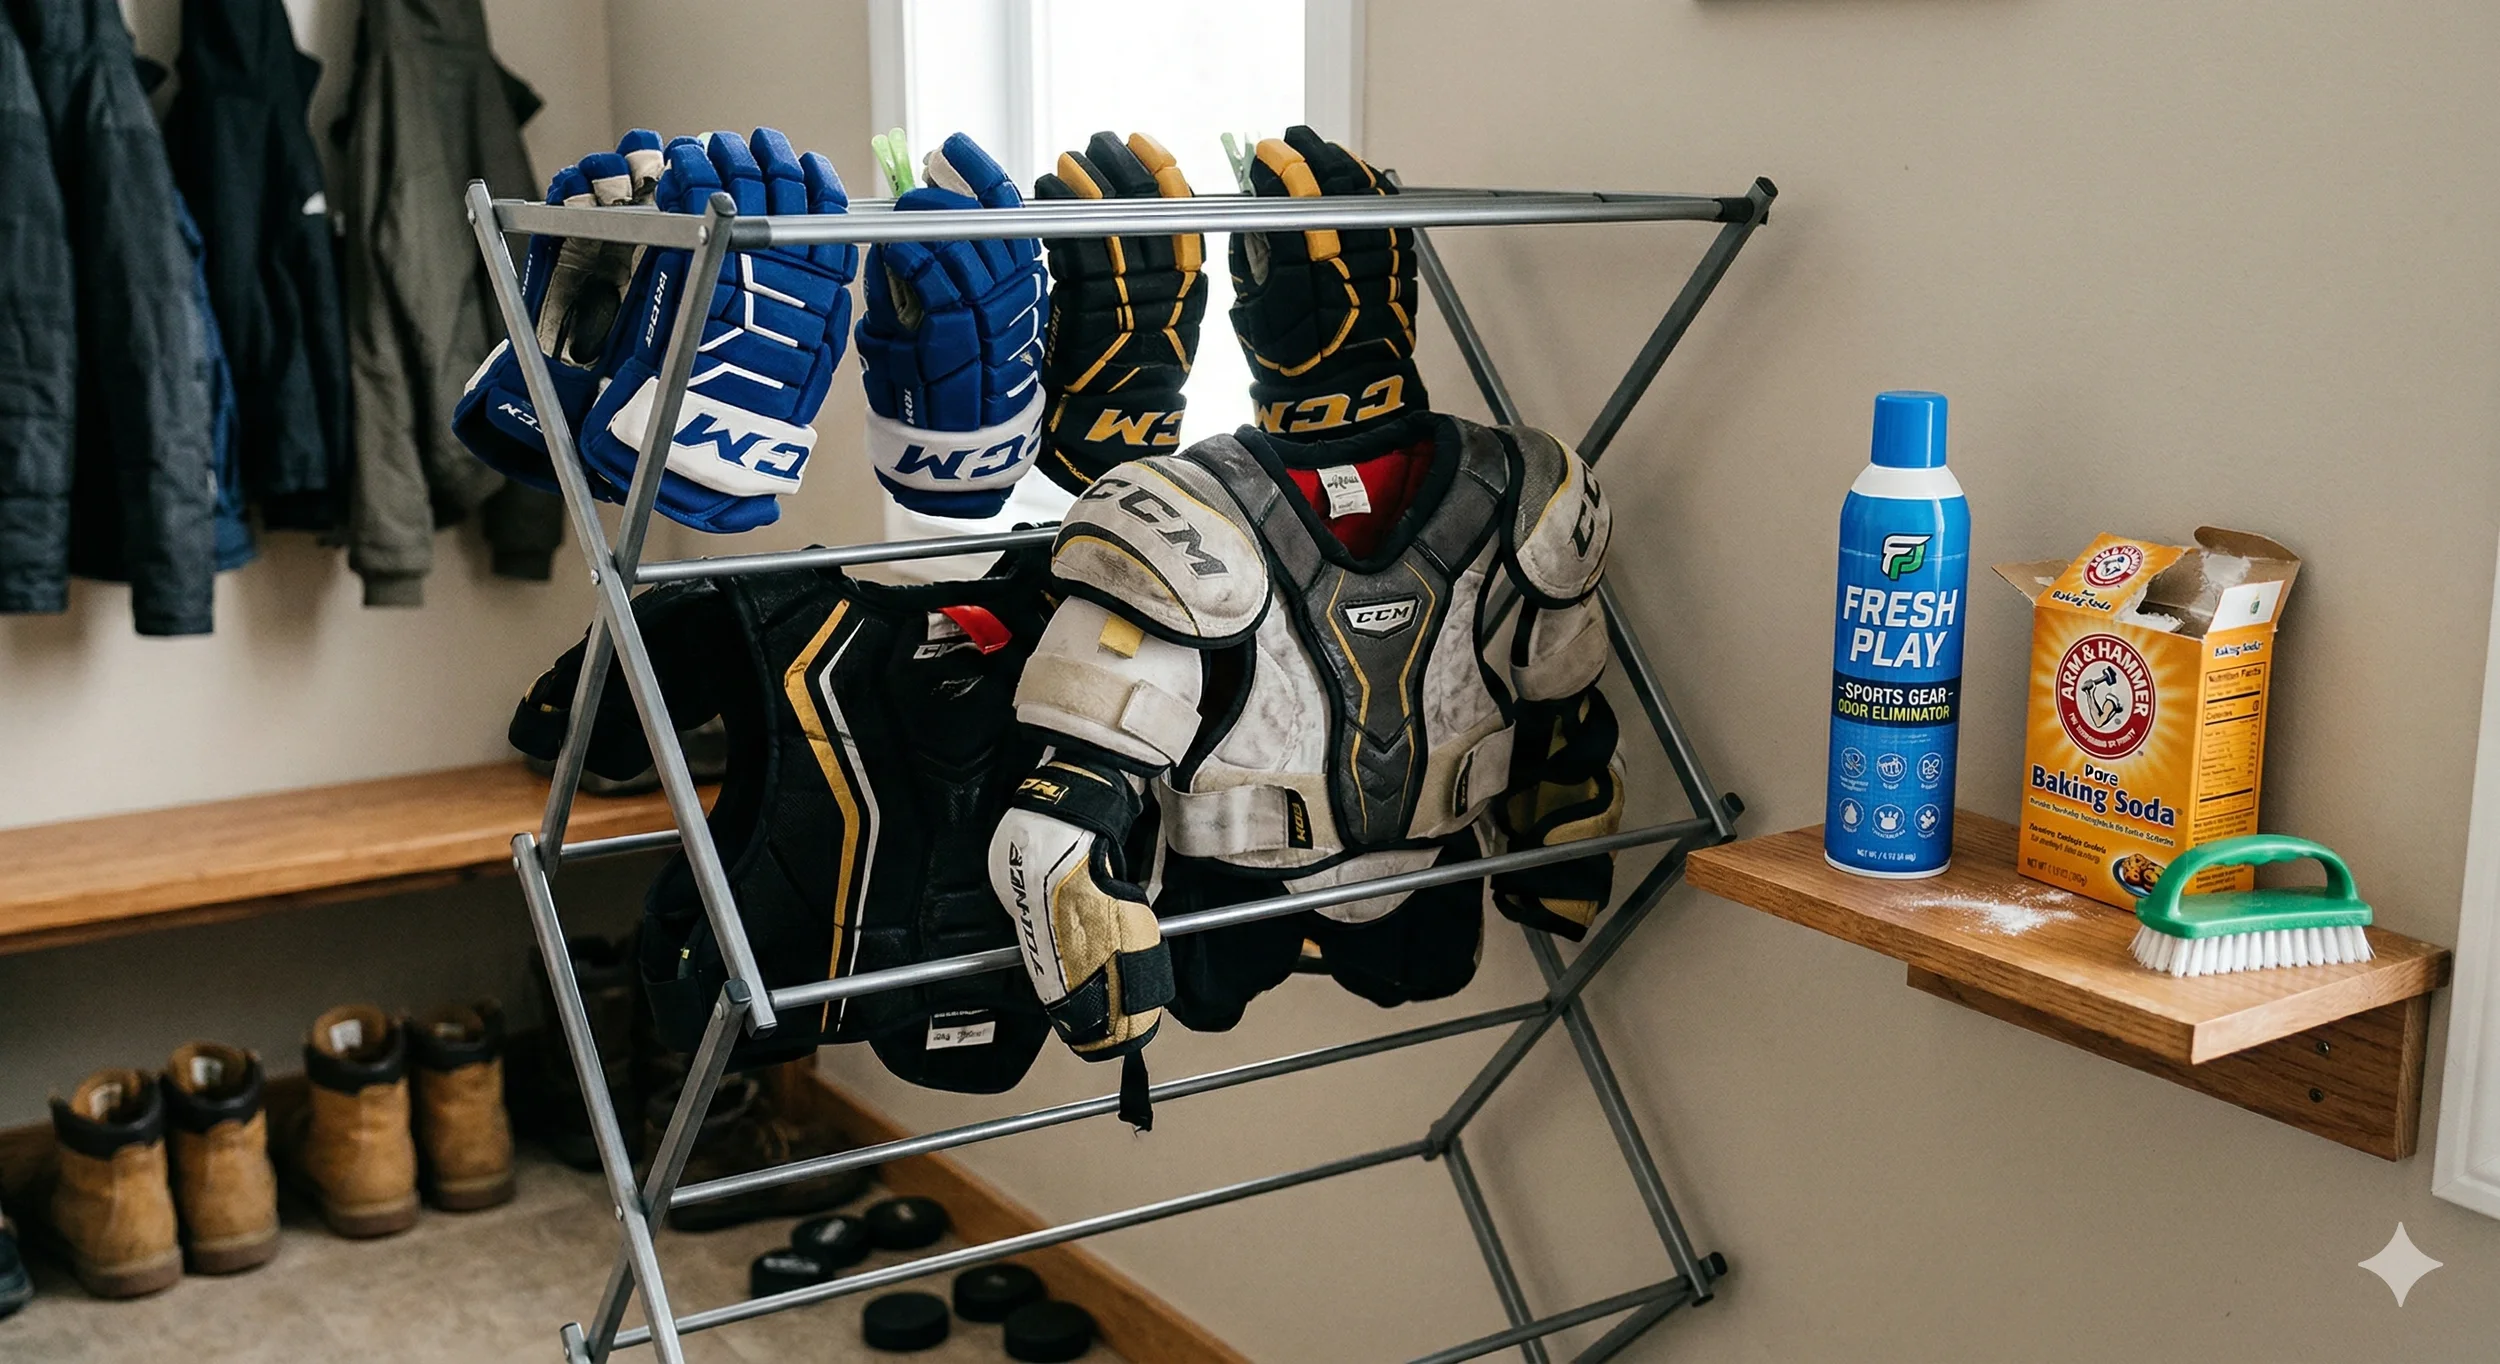
Table Of Content
Introduction
Why Cleaning Hockey Equipment Is Important
Quick Overview of Hockey Equipment That Needs Regular Cleaning
Basic Supplies You Need to Clean Hockey Equipment
How to Wash Hockey Equipment at Home Step by Step
What Hockey Equipment Can Go in the Washing Machine?
How to Hand-Wash Hockey Gear That Cannot Go in the Machine
How to Remove the Strong Smell from Hockey Equipment
Simple Tips to Prevent Rink Stink in Hockey Gear
Common Mistakes People Make When Washing Hockey Equipment
How Often Should You Clean Hockey Equipment?
Best Storage Practices After Cleaning Hockey Gear
Final Thoughts
Frequently Asked Questions
Introduction
If you’ve ever opened up a hockey bag and instantly wished you hadn’t, then you know precisely why this guide exists. Hockey equipment soaks in sweat, bacteria and moisture with each and every practice. Left unchecked, that amalgam becomes a scent potent enough to evacuate a locker room and, eventually, equipment that’s literally coming apart from the inside.
So how do you wash hockey equipment without ruining it? The good news is, it’s not hard. Most gear can be cleaned at home with supplies you already own. Some works require a bit of special handling. And a regular routine makes it all much less of a slog.
This guide has it all: how to wash hockey equipment step-by-step, what goes in the machine and what doesn’t, how to tackle serious odor and the storage habits that prevent gear from smelling bad in between washes. If you are a parent with young player gear to consider or a proud adult rec player up for the good stuff, this is your full guide.
Key Takeaways
Most hockey gear is machine washable on a cold gentle cycle.
Always air dry equipment. Never use a high-heat dryer.
Gloves must be washed every 2 to 3 sessions to avoid a buildup of bacteria and odor.
Helmets should never go in the washing machine. Wipe them down and wash the liner by hand.
Vinegar and baking soda are safe, effective natural deodorizers for hockey gear.
Storing gear wet is the fastest way to develop that infamous rink stink.
A consistent cleaning routine extends the life of your equipment significantly.
Why Cleaning Hockey Equipment Is Important
Hockey gear takes a beating. In a standard session, a player is sweating profusely within several layers of padding and fabric. That sweat doesn’t just evaporate. It seeps into the foam, the fabric and padding that make up your protective gear. USA Hockey emphasizes that properly maintained equipment is essential for player safety at all levels.
How Do Sweat and Bacteria Build Up in Hockey Gear?
Human sweat is mostly water, but also enough salts, proteins and organic compounds for bacteria to feast on. Bacteria then break down those compounds and in turn create the compounds that are behind that horrible smell we encounter when dealing with sport equipment. The foam on the inside of pads creates a climate that is warm, dark and moist – pretty much everything bacteria needs to thrive. Bacterial colonies are starting to establish themselves in unwashed gear 24 to 48 hours after a session.
The problem compounds quickly. With each subsequent skate, sweat, bacteria and organic material accumulate. The odor after several weeks of neglect is more than just unpleasant. It’s baked into the fabric and foam itself, and surface-level freshening sprays won’t reach it.
Why Can Dirty Equipment Damage Pads and Fabric?
Bacteria and moisture degrade materials faster than normal wear does. The foam in shoulder pads, shin guards and elbow pads can degrade if it stays consistently wet. The adhesive that binds the layers of padding together weakens. Fabric starts to form little tears in areas that have been softened by repeated moisture exposure. Leather or synthetic leather can become cracked and stiff if not cleaned and conditioned properly.
Dirty gear that is improperly stored without drying is also subject to mold growth. If mould gets into foam padding it can be almost impossible to completely remove without ruining the pad itself.
Signs That Your Hockey Gear Needs Cleaning
Most players clean as needed, not on a schedule. That’s fine, but gear doesn’t always issue obvious warnings. Certain signals are sort of subtle until they very much aren’t. Here’s what to watch for.
A persistent smell that doesn’t fade after airing out
Normal gear stinks post-session and recovers overnight. The next day, if the smell remains, then bacteria have made its way into that foam. Airing out won’t resolve it. Only a proper wash will.
Visible discolouration or staining on fabric
Yellowing, dark patches or staining on internal pad surfaces means that sweat salts and organic residue have accumulated long enough to stain the material.
Stiff or crunchy texture in glove palms or elbow pads
That crunchiness is crystallized sweat salt dried into the fabric fibers. It wears gear out and makes material crack faster than normal wear would. Flexibility returns after a proper wash.
White salt deposits on dark fabric
Chalky white residue on dark panels is crystallized sweat minerals. The crystals are slightly abrasive and eat away at fabric session-by-session.
A smell coming from the bag itself
If the lining smells when the bag is empty, it has absorbed enough bacteria to become a contamination source on its own. It will re-contaminate gear you just washed. It is important to be aware that the bag needs cleaning too.
Itchy or irritated skin after wearing gear
Redness or irritation after a session usually isn’t sweat sensitivity. There’s enough bacterial buildup to create a skin reaction. At this point it’s a hygiene issue, not merely a smell problem.
Two or more of these? Your gear is overdue. The techniques below will get it straightened out.
Quick Overview of Hockey Equipment That Needs Regular Cleaning
Here’s a quick guide to how often you should clean each piece of gear and the best method to use. Full details on each method follow below.
| Hockey Gear | Cleaning Frequency | Cleaning Method |
|---|---|---|
| Gloves | Every 2–3 sessions | Hand wash or machine wash on gentle cycle |
| Shoulder Pads | Every 2 weeks | Machine wash gentle or hand wash in tub |
| Elbow Pads | Every 2–3 weeks | Machine wash on gentle cycle |
| Shin Guards | Every 2–3 weeks | Machine wash or wipe down after each use |
| Hockey Pants | Monthly or when visibly dirty | Machine wash gentle, cold water |
| Helmet | Weekly exterior; monthly interior | Wipe with damp cloth; removable liner by hand |
| Skates | After every session (exterior) | Wipe blades dry; air out the inside |
The above table can serve as a starting point. If you are playing several times a week in a hyper-competitive environment, definitely increase the frequency for gloves and base layers specifically. Sweat loss varies significantly from individual to individual.
Basic Supplies You Need to Clean Hockey Equipment
Cleaning hockey equipment does not require anything special. Much of what you need is probably already under your sink.
Cleaning Products That Are Safe for Hockey Gear
Mild laundry detergent: Seek out fragrance-free, dye-free formulas made for sports or sensitive skin. Strong detergents can break down foam and elastic.
White vinegar: Natural disinfectant and deodorizer. Diluted 50/50 with water it’s safe on most hockey gear fabrics and foam.
Baking soda: Great for soaking or to use inside gloves and boots to absorb odors.
Sports gear spray: Anti-bacterial sprays made for athletic equipment. Good for quick in between-game freshening. Not a substitute for washing.
Soft-bristled brush: For scrubbing exterior surfaces of shin guards and helmet shells.
Mesh laundry bags: Protect gear in the washing machine and prevent padding from getting battered against the drum.
Large tub or bathtub: Essential for hand washing bulkier items.
Things to avoid: bleach, fabric softener, and hot water. Bleach degrades foam and elastic. Fabric softener coats fibers in a way that ironically traps odor over time. Heat can cause plastic parts to warp, and padding to shrink.
How to Wash Hockey Equipment at Home Step by Step
Washing hockey equipment at home doesn’t require professional equipment. What it does need is the right approach for each individual piece. Following these steps will help ensure that your gear is truly clean, rather than just surface freshened-up.
Step 1: Separate the Equipment Before Washing
Sort your gear before anything else. Group items by washing method: machine-washable pieces in one pile, hand-wash-only ones in another. Never make a machine load with soft padding out of helmets, skates or anything with a hard plastic shell. Those hard bits can damage other gear and the machine itself during the wash cycle.
And separate heavily soiled items like gloves from lightly soiled items like shoulder pads needing only a refresh. This allows you to customize your soak time and cleaning strength based on what you’re cleaning.
Step 2: Pre-Treat Areas with Strong Odor
Before any water touches your gear, address the stinkiest spots. For the majority of players, that is the palms and fingers of gloves, the inside of elbow pads and foam lining within shin guards.
Pre-treatment options:
Combine equal parts of white vinegar and water into a spray bottle. Spray heavily onto affected areas and let sit 15 to 20 minutes before washing.
Sprinkle baking soda inside gloves or boots and let it sit overnight, then wash out in the morning.
Use a sports enzyme spray designed to break down the organic compounds that create odor. These work especially well on gloves.
If the gear has a real odor, don’t skip this step. Washing without pre-treating just moves the smell around rather than eliminating it.
Step 3: Wash Equipment Using the Correct Method
For machine-washable gear: Put items in mesh laundry bags to protect padding and zippers. Use cold water, gentle or delicate cycle. Add a little mild, unscented sports detergent. Do not overfill the machine. Bulkier items like shoulder pads want space to move and rinse.
For hand-wash items: Fill a bathtub or large sink with cold water and a small amount of gentle detergent. Submerge the gear and knead and squeeze to work the soapy water through fabric and padding. Soak for 20 to 30 minutes, then drain and refill with cold water for rinsing. Rinse until there is no soap residue left.
A common mistake during washing hockey equipment is using too much detergent. Excess detergent remains in the foam and fabric long after rinsing, leaving a residue that can attract even more bacteria. Less is more in this specific case.
Step 4: Dry Equipment Properly
Drying is the most important step and the one most people get wrong. Gear that isn’t fully dried before storage will develop worse odor than gear that was never washed at all. Here’s the right approach:
Always air dry hockey equipment. Never dry padding or gloves in a high-heat dryer.
Hang gear on a dedicated drying rack or over a shower rod with good air circulation.
Direct a fan at the gear to help it dry faster and improve airflow through dense padding.
If gloves have removable inserts, turn them inside out and prop them open to air the interior.
Allow 24 to 48 hours for full drying before packing into a bag. Thicker pads take longer than you think.
Skate boots especially retain moisture for a long time. Take out insoles after every session and insert cedar insoles or balled up newspaper inside the boot to absorb moisture between wears.
What Hockey Equipment Can Go in the Washing Machine?
Knowing what’s safe to wash hockey equipment in the machine is half the battle. When in doubt, hand wash. But for most soft gear, the machine is entirely safe with the right settings.
| Equipment | Machine Safe? | Special Notes |
|---|---|---|
| Gloves | Yes | Cold water, gentle cycle. Air dry only. |
| Elbow Pads | Yes | Cold water, gentle cycle. Air dry. |
| Shoulder Pads | Yes | Remove hard inserts first if possible. Gentle cycle. |
| Hockey Pants | Yes | Check for a sewn-in cup or hard shell before washing. |
| Shin Guards | Yes | Cold water only. Hang to dry completely. |
| Helmet | No | Wipe exterior only. Remove and hand-wash liners separately. |
A note on helmets: even if you find claims online that certain helmets are machine-safe, it’s not worth the risk. A helmet’s structural foam can deform in ways you can’t see that prevent it from doing its protective job. Hand-wash the liner, wipe down the shell and call it a day. The Hockey Equipment Certification Council (HECC) warns that improper cleaning can void helmet certification, as helmets must meet ASTM safety standards.
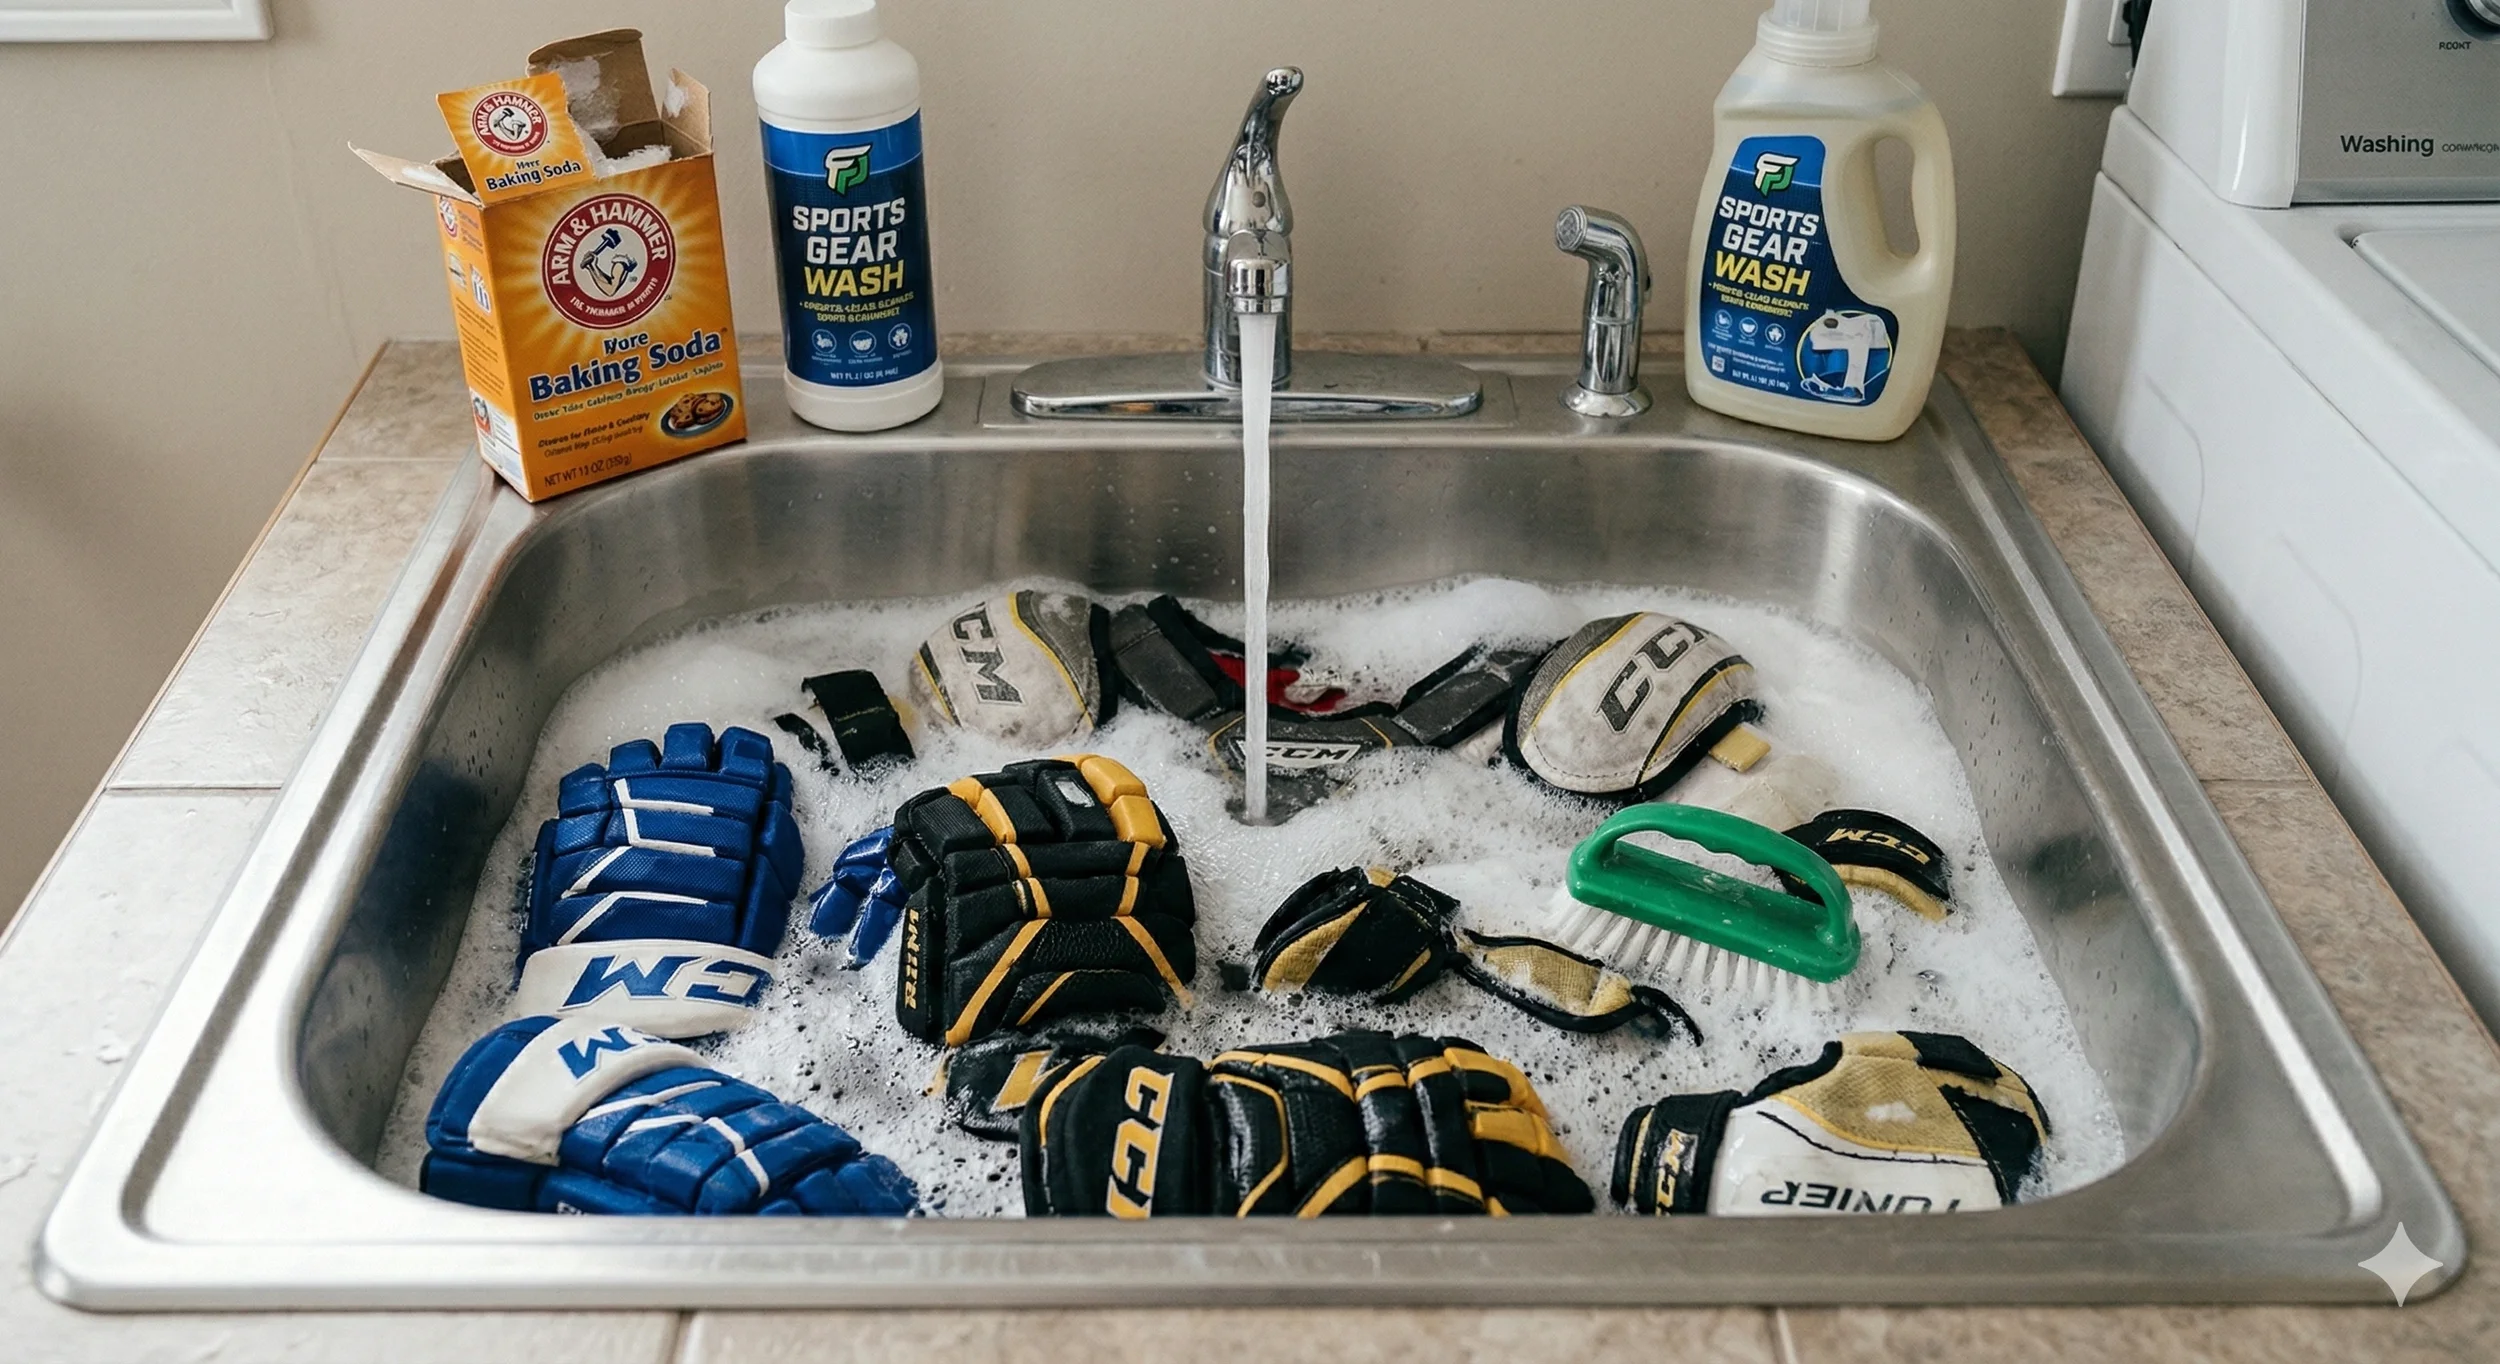
How to Hand-Wash Hockey Gear That Cannot Go in the Machine
Certain hockey gear requires the tub treatment. Skate boots, helmets, chest protectors with hard inserts and anything else you don’t want to put in a machine follows the same treatment.
Using a Bathtub or Large Sink for Soaking
Fill the tub with cold water and a small amount of mild detergent. Submerge the gear fully. Work the water through the padding with your hands, kneading places that soak up the most sweat. For the outside shell of a helmet, scrub the surface with a soft brush while the interior padding stays above water.
How Long to Soak Hockey Equipment?
For lightly used gear, 15 to 20 minutes should do the trick. For gear that hasn’t been washed in ages or is particularly smelly, extend the soak to 30 to 45 minutes. The addition of white vinegar — half a cup per soak — greatly increases deodorizing power without harming materials.
Rinsing Gear to Remove Detergent Properly
Rinse thoroughly. Let the soapy water drain, fill with clean cold water again, and work the gear through the rinse water just like you did on the wash. For bulky items such as chest protectors or hockey pants repeat this rinsing step a minimum of twice. Any detergent remaining in foam will hold odor and attract bacteria.
How to Remove the Strong Smell from Hockey Equipment
"Rink stink" is the term in the hockey community for that pungent and disgusting buildup of smell that collects in gear over a season. It’s not just sweat. It’s the byproducts of bacteria digesting all the organic stuff that gets trapped in foam and fabric. For gear that’s developed a serious stink, washing alone isn’t always enough.
Why Does Hockey Gear Develop Strong Odors?
The primary culprit is bacteria, particularly types that grow in warm, moist and protein-rich locations. The foam padding used with hockey gear is basically perfect for them. These bacteria generate compounds such as isovaleric acid (the sour scent of old perspiration), butyric acid (the sourness) and ammonia (from urea in sweat). Once those compounds are embedded deeply in foam, they require more than a quick wash to be neutralized completely.
Natural Ways to Remove Hockey Gear Odor
Vinegar soak method: Prepare a solution of equal parts white vinegar and cold water in a bathtub. Soak the gear and allow it to soak for 30 minutes to an hour. Vinegar has acetic acid which kills bacteria and neutralizes alkaline odor compounds. Rinse thoroughly afterward. For heavy training blocks, some players do a weekly vinegar rinse rather than a full wash.
Baking soda deodorizing method: Pack the interior of gloves, boots and helmets with dry baking soda and let it sit overnight. Baking soda absorbs acidic odor molecules rather than just masking them. In the morning, shake out the powder before use. For fabric items, toss half a cup of baking soda into the wash cycle with detergent.
Anti-bacterial sports sprays: These come in handy for between-wash upkeep. Products containing tea tree oil, silver ions or enzyme formulas kill the odor-causing bacteria instead of masking them with scent. Spray liberally after every session, let it dry fully before storing, and you’ll greatly increase how long gear stays fresh between washes.
Drying Methods That Help Eliminate Odor
Sunlight is a natural disinfectant. If conditions allow, drying gear in direct sunlight for a few hours after washing kills off residual bacteria and breaks down the compounds that cause odors. UV rays do actual work on bacteria that washing has left undone.
Well-ventilated air is just as critical as the wash itself. Gear that dried in a damp bag will still stink even if it was washed properly. Fans, open windows and specialized gear drying racks all help too.
Simple Tips to Prevent Rink Stink in Hockey Gear
Prevention is genuinely easier than treatment. These habits, practiced consistently, add up to a bigger difference than any single deep clean.
Air gear out immediately after every session. Do not leave equipment in a sealed bag after practice. As soon as you get home, open the bag or — better yet — hang everything on a rack.
Use an anti-bacterial spray after every use. A quick spritz on gloves, shin guards and shoulder pads after every session takes 60 seconds and dramatically slows bacterial growth.
Never store gear damp. Don’t cram gear that hasn’t dried all the way into the bag. If you’ve had to transport it wet, take it out immediately when you arrive home.
Use a ventilated equipment bag. Bags with mesh panels help with air circulation while gear is in transit. Dense nylon bags hold in moisture and create a bacteria incubator.
Wash base layers after every single use. The moisture-wicking compression gear worn under pads absorbs tremendous amounts of sweat. Cleaning it after each session eliminates the main source of bacterial fuel before it can transfer to the pads.
Cedar products inside skate boots and gloves absorb moisture and provide natural antibacterial properties between sessions.
Keep your gear smelling fresh all season. Visit NitroHky.com for gear care products, equipment guides, and everything hockey players need to play better and smell a whole lot less offensive.
Common Mistakes People Make When Washing Hockey Equipment
Using Hot Water That Damages Padding
Hot water feels like it should clean better. It doesn’t, not for hockey gear. Hot water can warp the plastic inserts inside pads, shrink synthetic fabrics and degrade the adhesive layers that bond pieces of foam padding. Cold water is better at preserving gear structure, and paired with the right detergent can clean as effectively.
Drying Gear in High-Heat Dryers
This is the mistake that happens most frequently and has the biggest repercussions. A dryer on high-heat will warp plastic areas, shrink padding, crack glove palms and cut the life of nearly any hockey gear to a fraction of its normal lifespan. The heat does not evenly penetrate the inside of thick pads, so the outside dries while the inside remains wet — just the conditions in which mold thrives.
If you need gear dried faster than air drying permits, use a dryer on the air-only or no-heat setting combined with clean tennis balls to help tumble the padding open. But rack air drying with a fan beats that still.
Storing Equipment Before It Fully Dries
Packing damp gear into a bag after washing is arguably worse than not washing at all. You’ve just injected bacteria with fresh water, evenly redistributed them throughout your gear and sealed them into a dark, warm container. The stench that emerges 48 hours later is quite an achievement in the worst way possible. Full drying before storage is non-negotiable.
How Often Should You Clean Hockey Equipment?
There is no universal answer that applies to all players. A recreational player who skates once a week requires less frequent washing than a competitive player training four times a week. That being said, here are some guidelines that apply in most situations:
| Equipment Type | Recommended Cleaning Frequency |
|---|---|
| Gloves | After every 2–3 sessions |
| Shoulder Pads | Every 2 weeks or once a month minimum |
| Pants | Once a month or when visibly soiled |
| Helmet | Exterior weekly; full interior clean monthly |
| Full Gear Deep Clean | Every 3–4 weeks during active season |
During playoffs or tournament weeks where games are back-to-back, have gloves and base layers go to the wash after every session without question. The faster schedule generates accelerated odor buildup.
Best Storage Practices After Cleaning Hockey Gear
How to Store Equipment to Keep It Fresh
Once gear is completely dry, store it in a way that maintains airflow. Folding pads tightly into a bag and zipping it shut creates conditions nearly as bad as storing gear wet. Leave the bag open or use a ventilated gear bag whenever possible. Hanging shoulder pads, gloves and shin guards is better than stacking them.
Using Drying Racks and Ventilated Bags
Purpose-built hockey gear drying racks allow you to hang every piece of equipment with proper spacing and airflow. They’re a worthwhile investment for any serious player or hockey family. Some models include boot driers for skates. Combine a drying rack with a ventilated gear bag and you have solved both storage and transport issues in one system.
Keeping Hockey Gear Free from Bacteria
Even between washes you can keep your bacterial load low. A spritz of anti-bacterial spray after each use, ensuring gear is completely dry before storage and a monthly baking soda treatment for gloves and boots are sufficient to keep gear genuinely fresh between deep cleans. It is a system that takes less than five minutes after each session but makes a significant difference over a season.
Final Thoughts
The answer to "how do you wash hockey equipment" is simpler than most people expect. Cold water, mild detergent, the correct cycle for the right gear, and complete drying before storage. That’s the foundation of everything in this guide.
The players and parents who have the most problem with gear odor are not the ones who wash incorrectly. They are almost always the ones who skip drying, store gear while it’s still damp, or only think about cleaning when the smell has become a problem rather than before it starts. Consistency beats intensity here. A quick spray and a proper dry after every session is worth more than one monthly deep clean.
Take care of your equipment and it takes care of you. Well-maintained equipment lasts far longer, performs better and is so much more pleasant to be inside. Start with the basics in this guide and build from there.
Ready to gear up or refresh your equipment lineup? Head to NitroHky.com to browse hockey gear, care products, and player resources from people who take the game as seriously as you do.
Frequently Asked Questions
Here are quick answers to the most common questions about how to wash hockey equipment. Whether you’re grappling with a stinky bag, trying to decide what’s machine-safe or curious how the pros do it, these answers will guide you.
-
Use a mild, unscented, dye-free laundry detergent. Sports-specific formulas work well. Avoid anything with bleach, fabric softener or heavy fragrances. Use less than you’d normally use for clothes, since soap residue in foam traps odor.
-
Plan for 24 to 48 hours for complete drying, depending on the item and ambient humidity. Gloves and thick pads take longer than shin guards. A fan pointed at hanging gear cuts drying time roughly in half.
-
Not on a heat setting. Never. The heat warps plastic, shrinks fabric and cracks padding bonds. Air-only tumbling with no heat is acceptable for soft items in a pinch, but hanging to air dry is always preferable.
-
Vinegar soak, baking soda pack, or an enzyme-based sports spray are the three most effective options. For gloves with embedded odor, washing alone often isn’t enough. Pre-treat with vinegar or baking soda before washing for best results.
-
Diluted white vinegar (50/50 with water) is safe for fabric, foam and most synthetic materials used in hockey gear. Always rinse thoroughly after a vinegar soak. Repeated use of undiluted vinegar on leather glove palms could potentially dry them out over time.
-
No. Skate boots shouldn’t go in the washing machine at all. The boot structure, blade holders and bonding materials aren’t designed for submersion or machine washing. Wipe the exterior, remove insoles to dry separately and use cedar insoles or moisture-absorbing inserts to manage boot freshness.
-
Most professional teams use industrial gear washers — large commercial machines specifically designed for athletic equipment — after every game or practice. They also employ equipment managers who inspect and treat gear individually. Between washes, gear gets anti-bacterial spray treatment and is dried using commercial forced-air systems. For home players, the bathtub and drying rack approach gets you 80 percent of the way there.